Sunday, May 19, 2013

The BEST Green Chile Chicken Enchiladas Ever, Gluten Free Of Course!

Hello again! Today, I'm making my mom's friend's recipe she made up 20 years ago. Let's get started.

Read through the recipe first, gather your ingredients, and then preheat the oven to 350 degrees. We use convection bake but regular bake is fine also.


Here is the flour I use:

Here is the pan we will be using. Grease the bottom with some butter or oil spray (don't use PAM, as it makes it taste weird). If you need it, ask a parent to help on this part.


First, get 2 cups of chicken and combine it with 1 cup of shredded cheese. My mom buys a whole chicken and cooks it on the stove for hours with spices and vegetables. She then reserves the broth and shreds the chicken.


Take a dozen or so gluten-free corn tortillas; most corn tortillas are gluten free, but not all, so check the label. Then, wrap them in a paper towel and microwave for 1 1/2 to 2 minutes until they are soft, warm, and will not break apart when being filled. Put enough chicken mixture into each tortilla so it takes up about 1/3 of the tortilla. Then ROLL up the tortillas like burritos. If you aren't able to roll them, you can fold them like I did--like tacos. They taste the same. :D


Once you have 2 or 3 layers (enough to mostly fill the baking pan), using all the filling.


Then, get out a small saucepan (another term). Put a 1/3 cup of butter into the pan. Put the pan on medium high, and wait for it to melt completely.


It should look like this when it is melted.
Then put in two tablespoons of the gluten free flour shown above (cornstarch may work also but this flour is best). Whisk the two together completely until lumps disappear.


Once it is mixed, it looks like this:


Add 2 cups of chicken broth. If you don't have chicken broth, you can use water but you MUST add flavors like garlic powder, salt, pepper, etc to add in the tastiness.

Once the mixture has thickened, add one to two cans of chopped green chilis. Any brand will do. You will know it is thick when it starts to bubble and look like yogurt consistency. The actual term for thickened is reduced.


Whisk in the chilis to the thickened mixture.


Add two cups of plain greek yogurt. The original recipe called for sour cream but we like to eat healthy and greek yogurt tastes better, has more protein and loads less fat. The texture is nicer also, creamier.


With everything added, it should look like this, and smell delicious.


Pour the mixture over your filled enchiladas so it covers the entire top evenly.


Finally, add enough cheese to cover the top. We like a lot of cheese. You can use any kind but we prefer the Mexican cheese shredded blend. Monterey Jack or Cheddar are also good.


Cook at 350 for 20-25 minutes until cheese is melted and bubbling. Then broil for 3 minutes to get that cheesy crust on top.


Serve the deliciousness and eat another yummy gluten free meal!!


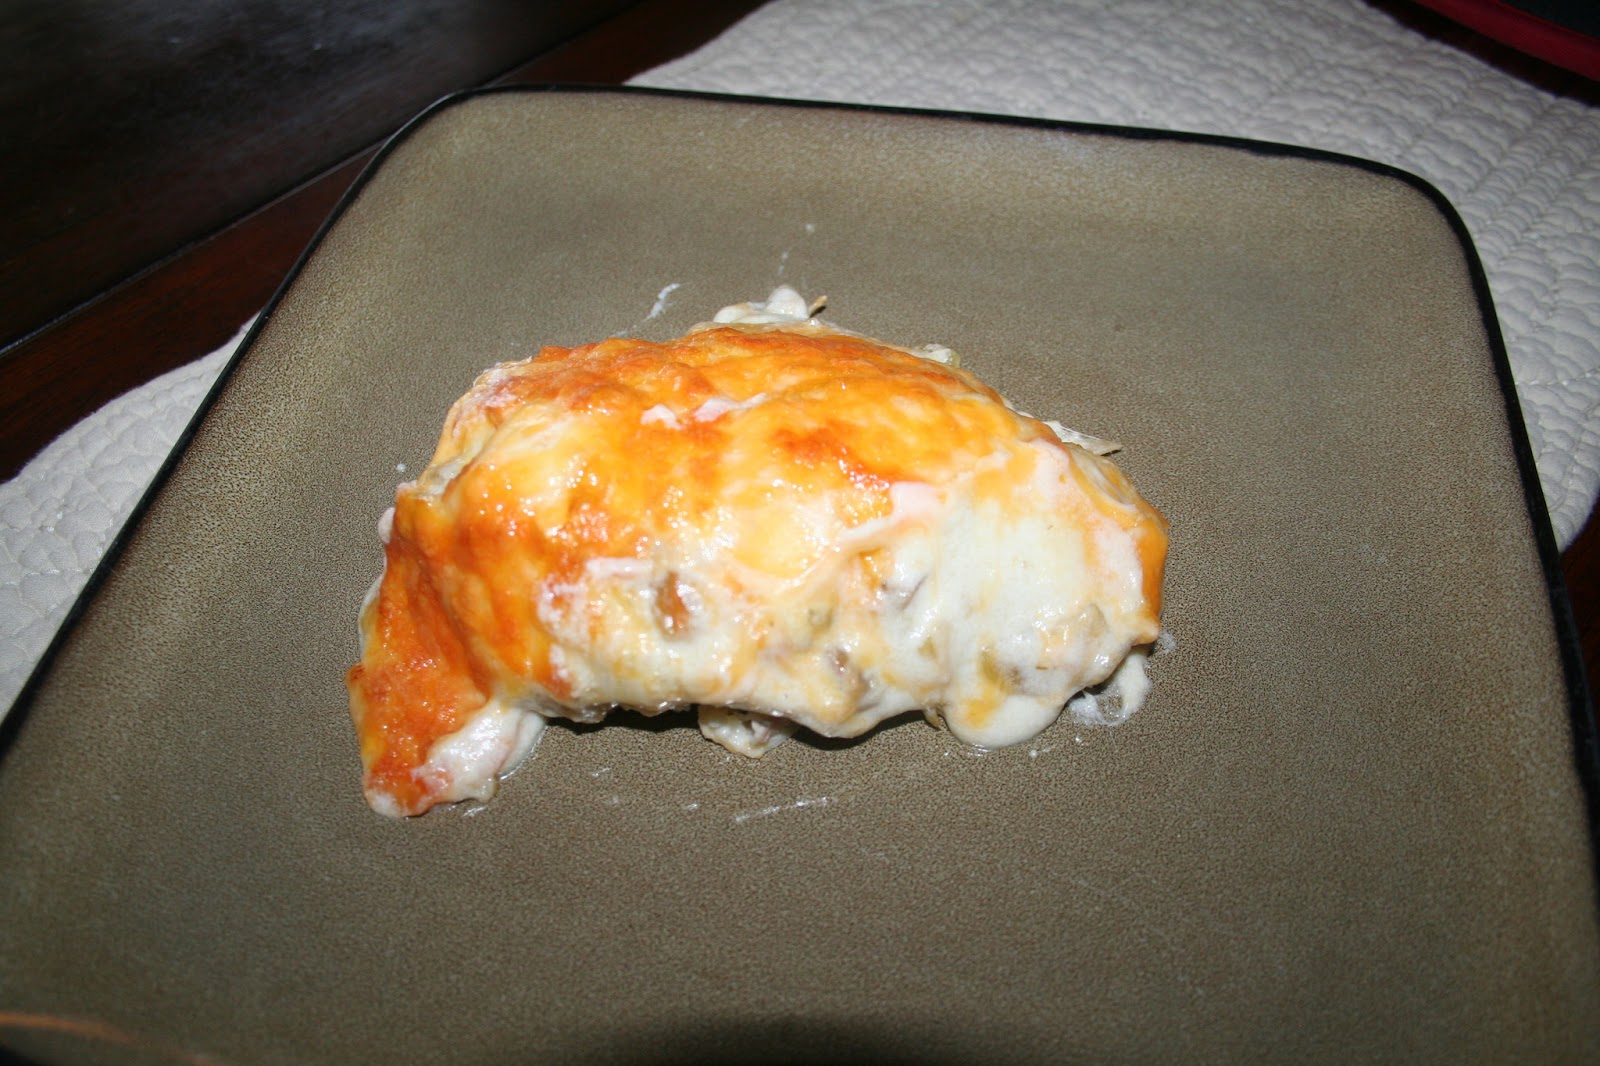
Let me know if you try it! and what gluten free meals you have made this week.

Saturday, May 18, 2013

I Got Some Cool Products!!

This week I got a shipment from one of my new blog fans who sent me products she had received from her local food bank and did not need. Here's what we got!


So, right now I'm going to eat the granola she sent, and get to the flour and cake later on. Thanks for the stuff! ;) Look for my reviews a little later on.... Off to eat some nom nom nom.

Foolproof Gluten Free Spaghetti a Kid Can Make!


Hey, sorry for being gone so long! I'm back from a busy week of middle school. If you've been following, I've talked so far about eating out and breakfasts. Now on to DINNER.

Today, I'm making spaghetti! I love spaghetti night, and first off I will recommend the best gluten-free spaghetti out there, that doesn't mush or have a bitter taste. Trust me, over the last 11 years, we've tried tons of brands. Some have been pretty awful.


If you can't read the brand name, it's Tinkyáda Brown Rice Pasta. We use fettucini because it is thicker and holds up better with the sauce. For us, we're fortunate to find it at WalMart for about $4.00 per package. 

Also, here is the meat we use:


We like to use this Italian sausage, but you can use ground beef if you want. By the way, here are the ingredients: PORK, WATER, CONTAINS 2% OR LESS OF: CORN SYRUP, SALT, SPICES, SUGAR, PAPRIKA, GARLIC POWDER.


We usually mix two packages of ground sausage, one Italian and one Hot, and there are other varieties, like Country and Sage. This is about three pounds of sausage, but we have 5-7 people to feed and they eat a lot.


So, to start off, get a big pot and fill it about 2/3 of the way, with a little bit of salt. Put it on the stove and put it on a high temperature.


So, while you have this on the burner, start working on the sausage. By the way, you want the water to be at a rolling boil (remember?) before you put the pasta in.


For the sausage, get out a large pan. We use a non-stick skillet. Put your meat into the pan on medium-high (between high heat and medium heat). 


Split up the sausage into pieces with a spatula. My sister splits it up into very small pieces, but I like to split it up into bigger pieces, like small meatballs. 


Once the meat is partially browned, turn you burner down to medium heat.

If your water is boiling right now, put the spaghetti in. This brand calls for 11 minutes. MAKE SURE TO STIR OR ELSE YOUR SPAGHETTI WILL BE REALLY CLUMPY! 

Back to sausage. If you're sausage looks 95% browned, turn the heat down to the lowest heat you can without turning it off. Then add some pasta sauce (we use the HUNTS below because it has really great flavor). We add two pounds (two cans) of sauce, but, again, we have at least 5 people and three pounds of sausage. This 2:3 ration between sauce and sausage is really good. The sausage will cook 100% done with the sauce while your pasta is cooking.


Once your pasta is done, dump it into a strainer for a minute to drain completely, separate the noodles with a pasta spoon, then serve with sauce and enjoy!


What have you tried cooking gluten free this week? Have you had good luck or bad luck with pasta?

{This recipe was included in the Gluten Free Wednesdays Carnival here:}


Sunday, May 12, 2013

Breakfast Part 2: The Scary Part, Eating out in a Restaurant (and Eating Out in General)


      Today was Mother's Day, so we went out to eat breakfast at a restaurant. It was a small, local diner, that seated less than 50. It was clearly a family run joint, with Mexican running through the theme. 

     We don't eat out very often, but when we do, there are some rules I follow depending on what kind of restaurant it is. For example, at Chili's, they have a separate printed paper Gluten Free Menu, which I ask for right away when I'm seated. The menu changes so I don't count on the fact that something I ordered last time will still be gluten free this time. Other restaurants might have a whole section already dedicated to gluten free options (but you still have to tell the waiter/waitress you have Celiac as gluten free is not the same as Celiac Friendly, which I will cover later). In rare, cool instances, you might find a restaurant dedicated to gluten free, like Fireside Pizza, where we like to eat when we are in Squaw Valley, Lake Tahoe, or some restaurants in Bend, Oregon, like another gluten free pizza restaurant. You can also check online before eating out for Allergen Menus, which not only mention wheat or gluten, but also dairy, soy, nuts, and other common allergens. You can print it out and take it with you. Some places like Boston Market have the Allergen Menu as a brochure near the cash register.


     So, today, we were at this cafe, and I was given the menu below. This restaurant did not have an online or paper Allergen Menu or gluten free menu, so I had to make my choices following this process:


Here is how I decided what I wanted to order:


  • I first looked at all the sections and eliminated what for sure I couldn't eat. 
  • If I did not understand an ingredient, I asked my mom, and then eliminated from there (like the Benedicts, which I found out have english muffins (EVIL wheat) and the sauce is thickened with flour (EWWY). 
  • Once I figured out what I COULD have, I then decided what to eat. In this case, I decided between the two Mexican dishes: Huevos a la Mexicana and Huevos Rancheros (I like chilis (the spicier the better) and Mexican food. Many Mexican foods are tasty and can be gluten free, like tamales.)
  • Then I begged my mom 
    for a large Chai Tea Latte to finish off the yumminess. I was EXREMELY full afterward, but it was yummiliscious.
  • When I placed the order, my parents made sure to mention that I have Celiac and that nothing could touch wheat or gluten when preparing my meal. The waitress understood and affirmed it would be safe to eat (sometimes they don't what Celiac is and will go and talk to the chef directly first). 
  • When my food came, I looked over it and made sure it was what I ordered and was safe to eat and what was described. 

So, to recap, when you eat out, first eliminate any items you know you can't eat, then ask questions if there are any ingredients or menu items you do not know, next narrow it down to a couple of things you might want to order, and finally ask the waiter/waitress/chef if they are safe options, and place your order once you verify it is gluten free.


The tortillas were wrapped first and then heated to avoid contamination.


If they bring you an order where they included bread, toast, contaminated fries, etc, don't be afraid to send it back. (Another good side note: don't ever assume french fries are gluten free. They often fry them in the same oil as chicken tenders and other breaded items, and some fries like curly fries contain wheat! :( ) 


Tomorrow is a school day so I will be back blogging again if I have free time from studying during the week or for sure on the weekend. And try eating out using the tips, and, if in doubt, ask ask ASK! Remember, gluten free is cool!

1: That IS how I held my mug, 2: My eyes are NOT red :)


(All these photos were taken on my HTC One phone, are not edited in any way, and uploaded to Dropbox)


Oatmealliciousnessism (or Oatmeal Gluten-Free recipe)


     Hey guys. Today I'm making some breakfast. GLUTEN FREE oatmeal. Why did I do gluten free in all caps? Well, normally oats are produced on contaminated equipment, so you have to get oats that are from a safe company (and don't order oatmeal in a restaurant -- it will almost always be cross contaminated oats). 

Here is how to make the brand I like.


Here's the package of my Bobs Red Mill oats:
(Notice the part where it says whole grain?
This is the good stuff since a lot of gluten free
products are made with starch and flours.)


Here's my empty pot. It's handy because it has
measurements on the inside of the pot, but any
good size pot will do:


Make sure if you're in a kitchen where gluten-containing stuff is made 
that you clean the counters thoroughly first to avoid any
accidental contamination. Better safe than in pain.


First, pour water in your pot—for my brand of oatmeal, 
it calls for 4 cups (a quart):


On a high temperature, boil your water. For those of you who don't know a lot about cooking, here's a term for the boiling you want: a rolling boil, a constant amount of large bubbles. Oh, and steaming is normal. (add rolling boil to your list of cooking
terms now)


Now add in your Gluten Free oats. In my case, I add in 2 cups,
or if you are modifying the recipe, keep in mind the ratio is
2:1 (water to oats) -- ratio is another good cooking term.


For my oatmeal, I cook it for about 20 minutes.
MAKE SURE TO STIR OR ELSE YOU'LL GET A PAN WITH A
LAYER OF GLUEY, UN-SCOOPABLE OATMEAL AT THE BOTTOM.

(yeah, that's happened to me before and my mom
makes me scrub the pot -- I just learned that by the way).

If your pot looks like this:


it's boiling over (this is another phrase to add to your list of cooking terms).
Ok, so back to this pot: if it looks like this turn it down or remove
it from the heat for a moment.


Once your oatmeal is ready, take it off the burner and SERVE! 
Don't take a ton though, because, trust me, GF oatmeal is pretty filling.


If you want to add stuff to your oatmeal, you can add loads of things,
like nuts (almonds right now, but usually I have glazed pecans),
sugar (or stevia or other substitutes), fresh fruit, milk...use whatever! ;)


OMNOMNOM! Oh, and nutritious!


Trust me, if you have something this yummy, you won't
feel like you are missing out at breakfast just because
you are now eating gluten-free. (I will write about
more breakfast foods in future posts)